How to Build Floating Shelves That Hold Heavy Weight: The Ultimate UK DIY Guide
Floating shelves are a fantastic way to add stylish storage and display space without visible supports, creating a clean, minimalist look. However, the elegance of a floating shelf often comes with a common concern: how much weight can it truly hold? If you're planning to store books, ceramics, kitchenware, or even a small collection of power tools, you need a solution that goes beyond standard decorative shelving.
At DSIDE.co.uk, we understand that serious DIYers need serious tools and reliable advice. This comprehensive guide will walk you through the process of building and installing heavy-duty floating shelves that can withstand substantial loads, ensuring both safety and aesthetic appeal. We'll cover everything from selecting the right materials and tools to tackling different wall types, all tailored for the UK DIY enthusiast.
Why Opt for Heavy-Duty Floating Shelves?
Beyond their sleek appearance, robust floating shelves offer several advantages:
- Maximal Space Utilisation: They can fit into awkward nooks and crannies where traditional shelving might look clunky.
- Unobstructed Design: No unsightly brackets or uprights mean your items are the stars of the show.
- Increased Load Capacity: Properly installed heavy-duty shelves can hold significantly more weight than standard options, making them ideal for practical storage.
- Customisation: You can build them to your exact size, finish, and weight requirements.
Understanding the Challenge: Wall Types & Weight Distribution
The biggest factor in a floating shelf's weight capacity isn't just the shelf itself, but what it's attached to. Understanding your wall type is crucial:
- Solid Walls (Brick, Concrete, Block): These offer the best support for heavy loads, provided you use the correct fixings.
- Stud Walls (Plasterboard over Timber/Metal Studs): These require careful planning to locate and fix into the studs. Fixing directly into plasterboard for heavy loads is generally not recommended without specialised anchors or reinforcement.
Heavy weight needs to be distributed evenly across robust fixing points. Avoid concentrating weight on one small section of the shelf.
Essential Tools & Materials for a Strong Build
Before you begin, gather your gear. Quality tools make all the difference, and you can compare prices on all these essentials at DSIDE.co.uk!
Power Tools:
- Combi Drill / Impact Driver: Essential for drilling pilot holes and driving long, strong screws. A cordless option like the DeWalt DCD796 Combi Drill (around £120-£180 body only) or a Makita DHP481 Combi Drill (around £150-£200 body only) will offer plenty of power. For serious driving, an Milwaukee M18 FPD2 Impact Driver (around £150-£200 body only) is invaluable.
- SDS Plus Rotary Hammer Drill (for masonry): If you have solid brick or concrete walls, a standard combi drill might struggle. An SDS drill like the Bosch GBH 2-26 DRE (around £140-£180) makes light work of tough materials.
- Circular Saw / Jigsaw / Mitre Saw: For cutting your shelf material accurately. A Ryobi R18CS Circular Saw (around £80-£120 body only) is a good all-rounder for straight cuts.
Hand Tools & Measuring:
- Stud Finder / Multi-Scanner: Crucial for locating studs, electrical wires, and pipes in walls. Brands like Zircon or Bosch D-tect 120 (from £30 to £150+) are highly recommended.
- Spirit Level: A good quality 600mm or 1200mm level for perfect alignment.
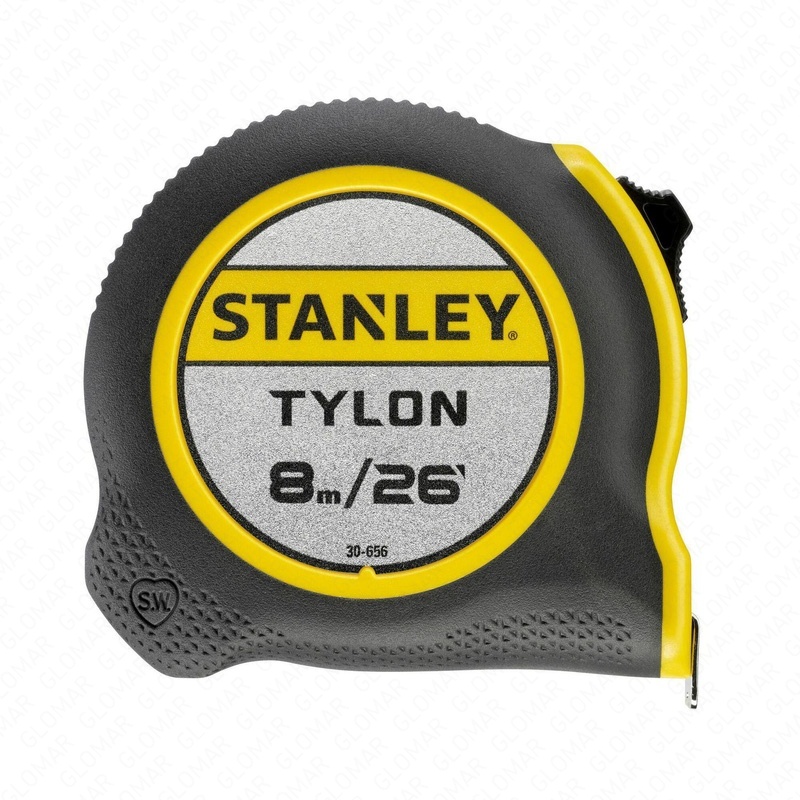
- Tape Measure & Pencil: For accurate marking.
- Safety Glasses & Gloves: Non-negotiable for all DIY tasks.
Materials & Fixings:
- Shelf Material:
- Solid Hardwood: Oak, walnut, or ash at least 30mm-45mm thick. Robust and beautiful but can be expensive. Available from timber merchants or DIY stores like Screwfix and Toolstation.
- Thick Plywood: 18mm-25mm marine or birch plywood. Strong, stable, and can be laminated or veneered for a desired finish. Consider building a torsion box design for extra strength if using thinner plywood (e.g., two layers of 18mm plywood with internal bracing).
- Laminated Timber Board: Often available in pine or oak effect, these can be a more budget-friendly option than solid hardwood, but ensure they are thick enough (30mm+).
- Heavy-Duty Floating Shelf Brackets/Supports:
- Concealed Steel Rod Brackets: These are inserted into the shelf material itself. Look for high-quality, solid steel rods with a wide base plate for maximum contact with the wall. Brands like Hafele or even generic heavy-duty options from Amazon UK can be excellent, costing £10-£30 per bracket. Ensure the rods are long enough (at least 150mm-200mm for a deep shelf) and have an adequate diameter (e.g., 10mm-12mm).
- Metal Frame Supports: For extremely heavy loads, you can build a hidden metal frame (e.g., from square steel tubing) that is securely fixed to the wall and then clad with your shelf material. This is a more advanced technique but offers unparalleled strength.
- Fixings (Crucial for Wall Type):
- For Stud Walls (into timber studs): Use long, heavy-duty coach screws (also known as lag screws) or structural timber screws (e.g., Spax Wirox) at least 75mm-100mm long and 6-8mm diameter.
- For Solid Walls (brick/concrete): Use frame fixings (e.g., rawlplugs with appropriate screws) or chemical anchors for the ultimate strength. Chemical anchors (e.g., from Toolstation, around £10-£20 per tube) are perfect for extremely heavy loads, as they bond the rod directly to the masonry.
- For Plasterboard (without studs - *use with caution and only for moderate heavy loads*): High-performance toggle bolts or self-drilling metal anchors (e.g., Fischer Duopower or GripIt Fixings) can provide decent support, but always aim for studs where possible.
Step-by-Step Installation Guide
1. Planning & Design
- Location & Load: Decide where your shelf will go and what it will hold. This dictates the length, depth, and material of your shelf, and the type of brackets/fixings needed.
- Measurements: Measure your desired shelf length and depth. Consider the thickness of your material – thicker shelves generally look more substantial and can handle internal supports better.
- Aesthetics: Consider the finish – natural wood, painted, veneered?
2. Prepare Your Shelf Material
- Cut your chosen wood or plywood to the exact dimensions.
- If using concealed rod brackets, you'll need to drill precise, straight holes into the back edge of your shelf for the rods to slide into. Use a drill press if possible, or a drill guide to ensure perfectly straight holes. The holes should be slightly larger than the rod diameter (e.g., 1mm bigger) to allow for easy fitting, but not so loose that the shelf wobbles. Ensure the holes are deep enough to accommodate the full length of the rods.
- Sand and finish your shelf (paint, varnish, oil) before installation for easier access.
3. Mark & Prep the Wall
- Marking Height: Using your spirit level, draw a perfectly level line on the wall where the top of your shelf will sit. Use this line as your reference.
- Locate Fixing Points:
- For Stud Walls: Use your stud finder to locate the centre of at least two (preferably three or more for longer shelves) vertical timber studs that align with your shelf line. Mark these points clearly. These are your primary fixing points.
- For Solid Walls: You have more flexibility. Mark the positions for your brackets, ensuring they are evenly spaced and sufficient for the load. Aim for a bracket every 40-60cm for heavy loads.
- Scan for Hazards: Before drilling any holes, use your multi-scanner to check for hidden pipes or electrical cables behind your marked fixing points. This is a critical safety step!
4. Install the Brackets to the Wall
This is where your wall type and chosen fixings come into play:
- For Stud Walls:
- Align the bracket's base plate with your level line and marked stud centres.
- Mark the screw holes through the bracket onto the wall.
- Drill pilot holes into the studs using an appropriate wood drill bit. Ensure the pilot hole is slightly smaller than your coach screws/structural timber screws.
- Securely fasten the brackets to the studs using your impact driver or combi drill and the heavy-duty screws. Tighten them firmly but don't overtighten and strip the wood.
- For Solid Walls (Brick/Concrete):
- Align the bracket's base plate with your level line and marked fixing points.
- Mark the screw holes.
- Using your SDS drill (or powerful combi drill on hammer setting) and a masonry drill bit of the correct size for your chosen rawlplugs or chemical anchor sleeves, drill holes to the specified depth.
- Clean out the dust from the holes (a hoover or brush is effective).
- For Rawlplugs/Frame Fixings: Insert the rawlplugs or frame fixings, then secure the brackets with the appropriate screws.
- For Chemical Anchors: Inject the chemical resin into the cleaned holes, then immediately insert the threaded rod or bracket's rod. Allow the resin to cure fully (check manufacturer's instructions – typically several hours). This creates an incredibly strong bond.
5. Attach the Shelf
- Carefully slide your prepared shelf onto the installed rods or supports. It should be a snug fit.
- Ensure the shelf is fully seated against the wall. Some floating shelf brackets have small grub screws underneath that can be tightened to secure the shelf in place and prevent it from lifting off.
- Use your spirit level one last time to double-check that the shelf is perfectly level.
Pro Tips for Extra Strength & Longevity
- Maximise Fixings: Don't skimp on the number of fixing points, especially for long shelves. More fixings spread the load better.
- Go Thicker: A thicker shelf material not only looks better but also allows for deeper, stronger holes for the support rods.
- Reinforce Plasterboard Walls: If hitting studs isn't an option for a very heavy shelf, consider cutting out a section of plasterboard and installing horizontal timber noggins between the studs to provide solid fixing points. This is a bigger job but ensures maximum safety.
- Test the Load: Gradually add weight to your finished shelf. Watch for any signs of movement or stress before loading it fully.
- Regular Checks: Periodically check the shelf's stability, especially if it's holding very heavy items. Tighten any loose screws if necessary.
Conclusion: Build with Confidence, Save with DSIDE.co.uk
Building heavy-duty floating shelves is a rewarding DIY project that adds both functionality and style to your home. By choosing the right materials, using appropriate tools, and following these steps for secure installation, you can create robust shelves that will safely hold your heaviest items for years to come.
Remember, the foundation of any successful DIY project is having the right tools for the job. Before you purchase your new combi drill, SDS hammer drill, stud finder, or any other essential hardware, be sure to visit DSIDE.co.uk. We compare prices from leading UK retailers like Screwfix, Toolstation, Amazon UK, and more, helping you get the best deals and ensuring your project stays on budget. Happy building!










































Comments (0)
No comments yet.